Apache Guacamole is a client-less remote desktop gateway that runs in your browser. In summary, you’re able to RDP, VNC, or SSH into devices on your network through a web browser. The tool works very well and allows you to manage all your connections in a centralized location accessible by a web browser.
Setting up Apache Guacamole on a Synology NAS is straight forward and works very well. I recently created a tutorial on how you can set up Apache Guacamole on a Raspberry Pi, but my preferred approach is by using a Synology NAS.
1. Instructions – Synology NAS Apache Guacamole
1. If you haven’t already, download Docker from Synology’s Package Center.
2. Under the Docker folder that is automatically created, create a new folder named Guacamole.

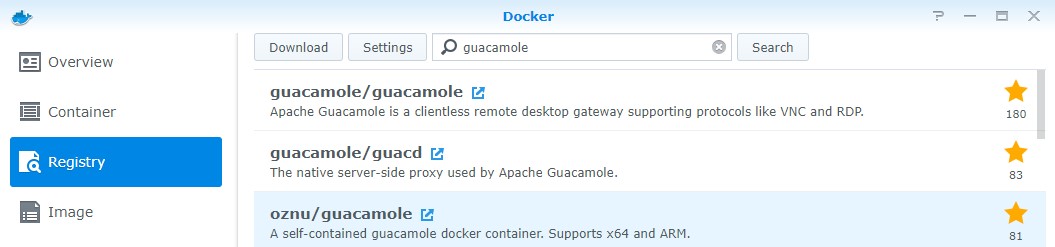
3. Go to the Registry in Docker and search for Guacamole. Download the package oznu/guacamole.
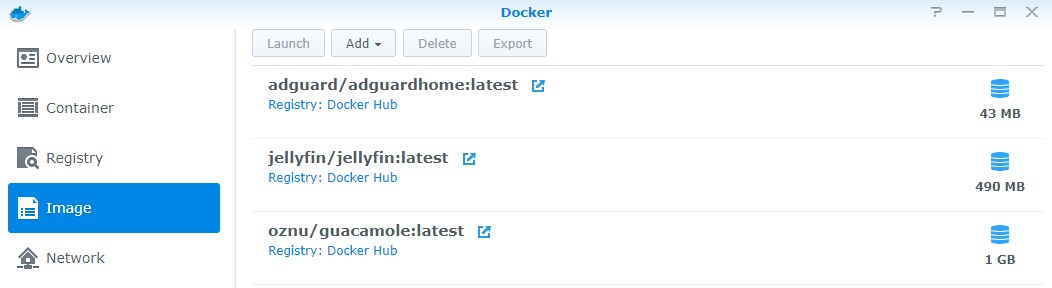
4. When the image finishes downloading, select Image and double-click the oznu/guacamole image.
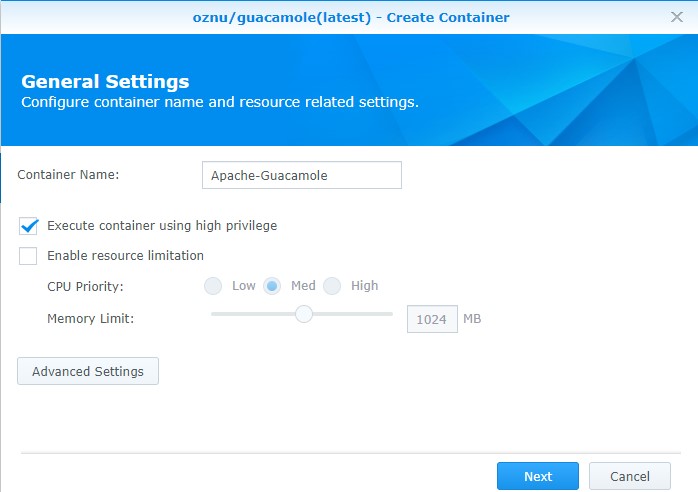
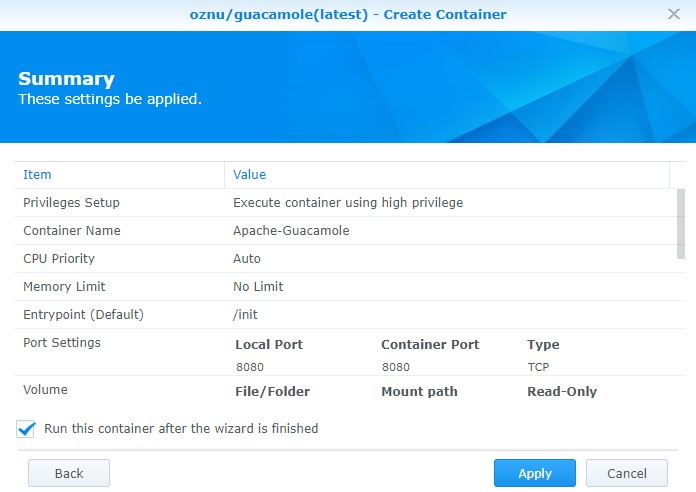
5. Give the container a name and check off execute container using high privilege. When the warning appears, select yes. Then, select Advanced Settings.
6. Check off Enable auto-restart.
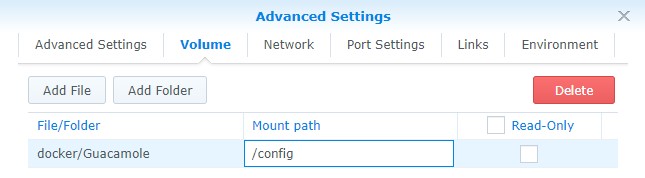
7. Under Volume, select Add Folder and select the Guacamole folder we created in step two. Enter the mount path as /config.
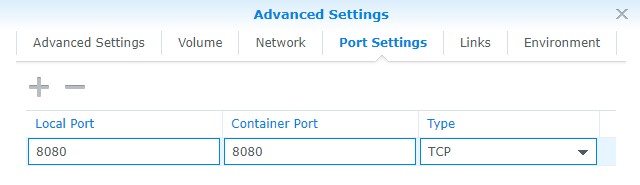
8. Under Port Settings, change the Local Port from Auto to 8080. NOTE: If you are using port 8080 for something else on your Synology NAS, you will have to change this port to something not currently in use.
9. Apply the settings to complete the setup.
10. If you are using Synology’s Firewall, ensure that you create an allow rule for port 8080.

2. Connecting to Apache Guacamole
1. Navigate to Apache Guacamole using your Synology NAS’s IP address and port 8080.
http://[SYNOLOGY_NAS_IP]:[8080]
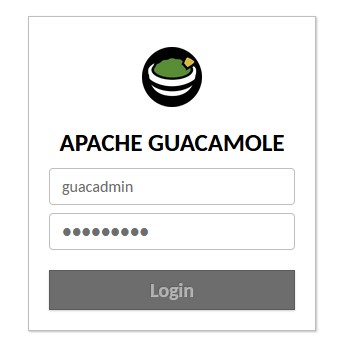
2. When you access the landing page, log in with the username guacadmin and password guacadmin.
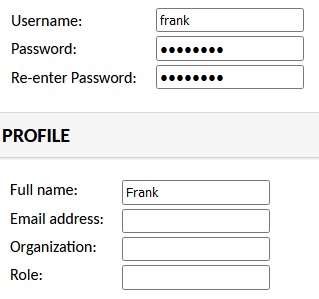
3. The first thing we will do is create a new username and delete guacadmin. In the top right, select guacadmin and then settings. Select Users and then New User.

4. Create a new user and save. NOTE: There are a bunch of different options here that you can tinker with if you’d like.
5. Logout and then log in with your newly created user. Navigate to the settings and then delete the guacadmin user.
6. The setup process is now complete!
3. Remote Connection Setup – Synology NAS Apache Guacamole
Setting up a remote connection is super simple. The key is to ensure that the destination device (Windows, Mac, Linux PC) is configured properly. Generally, you will be using RDP or VNC sessions if you’d like to view the desktop of a destination PC and SSH if you’d like to connect to the terminal. I’m not going to go over each example, but I will go over the general way of adding a new group and connection.
Once again, it’s very important to setup the destination device so that it can accept RDP, VNC or SSH connections!
3.1 How to Create a Connection Group – Synology NAS Apache Guacamole
Groups give you an easy way of structuring your machines. This will need to be created based on your requirements, but I generally split my machines up by category (Windows, Linux).
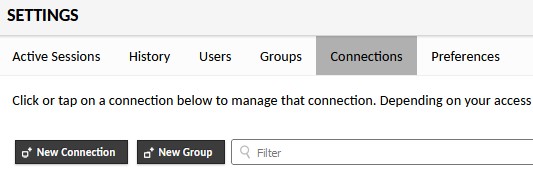
1. Navigate to the settings and select Connections, then New Group.
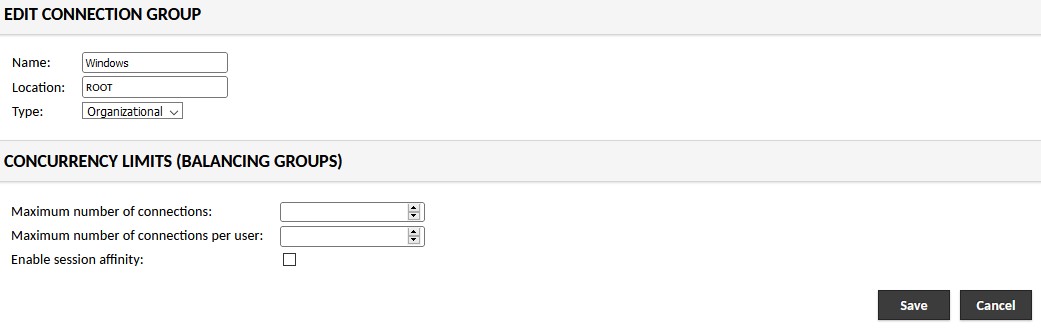
2. Give your group a name, modify any settings you’d like, and select Save.
3.2 How to Create a New Connection
Connections are what you’ll use to connect to your machines. I am not going to give specific examples but will show you how you can create RDP, VNC, or SSH connections.
1. Navigate to the settings and select Connections, then New Connection.
2. Enter a Name and then select Location to pick a group. Under Protocol, select RDP, VNC, or SSH.
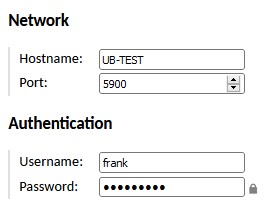
3. There are a ton of settings here, but simply entering the information in the Parameters section will allow you to connect. Add your Hostname and port (3389 for RDP, 5900 for VNC, 22 for SSH). Then add your Username and Password to the destination device and save the connection. There are a ton of other options that can be changed, but in general, these are the most important.
4. Multi-factor Authentication
There are many reasons why someone would want to expose Apache Guacamole to the outside internet. Generally, it’s suggested that rather than exposing the service, you use a VPN to tunnel back to your home network. However, if you want to expose this to the internet, it’s best if you use a reverse proxy. You can use Synology’s built-in reverse proxy (I have a tutorial here on how to do it using Bitwarden, but you will have to substitute port 5555 in the tutorial with port 8080 and create a Let’s Encrypt Certificate) or Nginx Proxy Manager. To enable two-factor authentication, follow these steps.
1. Stop the Apache Guacamole Docker container.
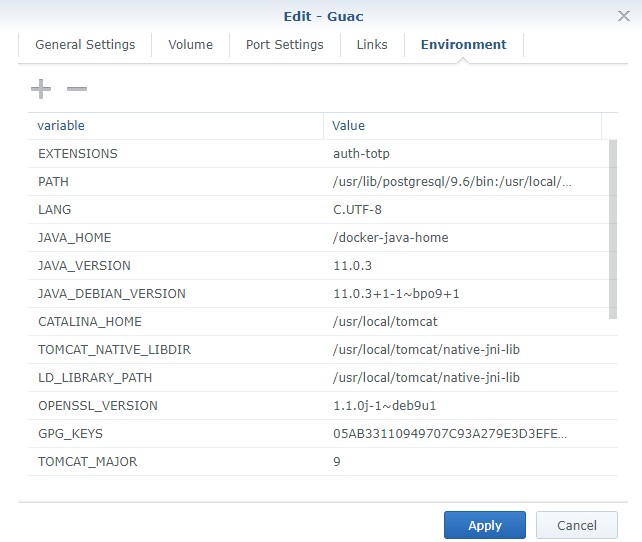
2. Edit the container and select Environment.
3. Select Add and enter EXTENSIONS in the variable and auth-totp in the value. Then select Apply.
4. Start the container and when you login, you will be asked to set up multi-factor authentication!

5. Conclusion – Synology NAS Apache Guacamole
Apache Guacamole is an awesome little tool and it’s super easy to setup on a Synology NAS. It’s very nice to be able to manage remote connections in a central location and it’s great that it works on all devices with a web browser! I’ve always used remote desktop connection tools but it was an entire setup every time I’d like to implement it on a new device. This is an easy way to hit all of your devices at the same time!