Please follow the previous blog post to install SharePoint (SharePoint Server 2016 Installation Step by step) and running Configuration Wizard on Application server. Login to the Web Front end server(s).
You are now ready to run the SharePoint 2016 Products Configuration Wizard located on the Windows Start menu. Follow these steps to create a farm:
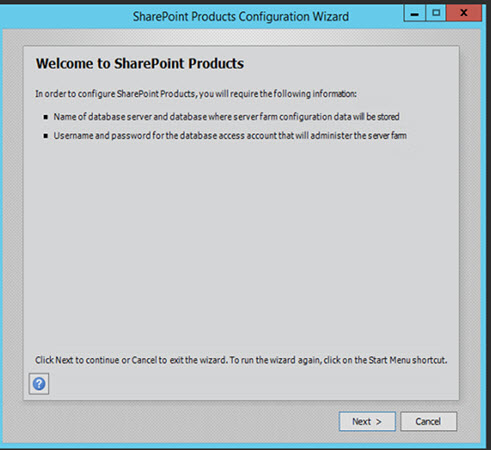
1- On the Welcome to SharePoint Products page, click Next.
2- In the dialog box that notifies you that some services might have to be restarted during configuration, click Yes.
3- On the Connect to a server farm page, click on Connect to an existing farm, and then click Next.
4- On the Specify Configuration Database Settings page, do the following:
- In the Database server box, type the name of the computer that is running SQL Server.
- Click Retrieve Database names and select the SharePoint database and Select Configuration Database. Click Next to continue.
5- On the Specify Farm Security Settings page, type in the farm passphrase, this should be same as you have given during the application server configuration wizard.
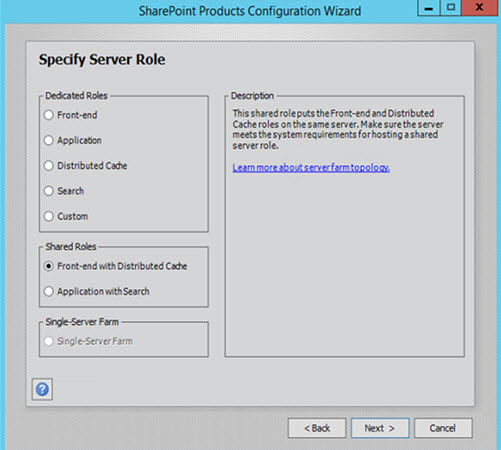
6- On the Specify a Server Role, click on “Web Front End with Distributed Cache” Click Next.
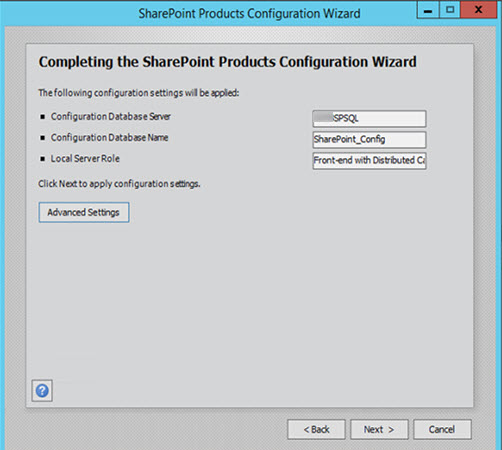
7- Check all settings and Click Next
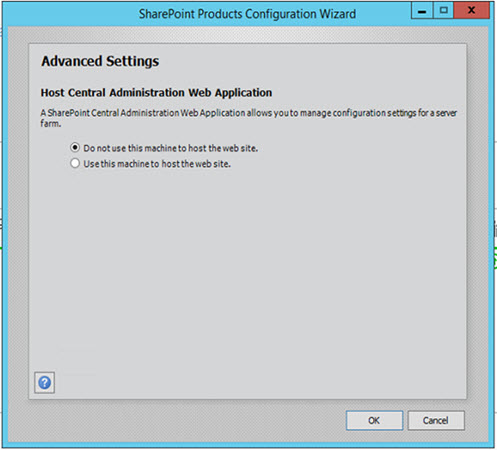
8- If you want to host Central Admin on this server as well click on Advanced and select this option.
9- On the Completing the SharePoint Products Configuration Wizard page, click Next.
10- On the Configuration Successful page, click Finish.
11- The Central Administration website will open in a new browser window. On the Help Make SharePoint Better page, click No, I don’t wish to participate and then click OK.
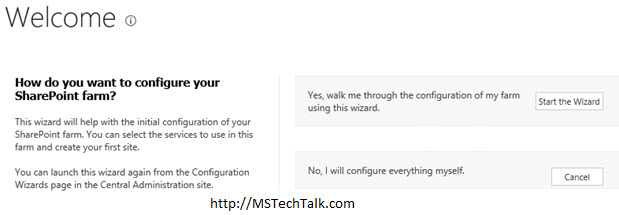
12- On the Initial Farm Configuration Wizard page, click Cancel. As I mentioned in previous blog post, that I will share the details to manually configure the service applications, as I do not recommend to configure all service using Farm wizard.
