Since we have quite a few general info that new employees need to know and read, we needed some kind of Welcome email for all the new employees.
There is no generic solution or option implemented into newer Office or Exchange so some simple scripting is in order.
This article is sort of reminder for me, and a Technet was a huge help for this one, especially this text –
https://blogs.technet.microsoft.com/sukum/2014/07/10/send-welcome-email-to-new-mailbox-new-users/
So let us start with this simple how to.
First, we need to create message that will be in the Welcome email.
Message needs to be in HTML.
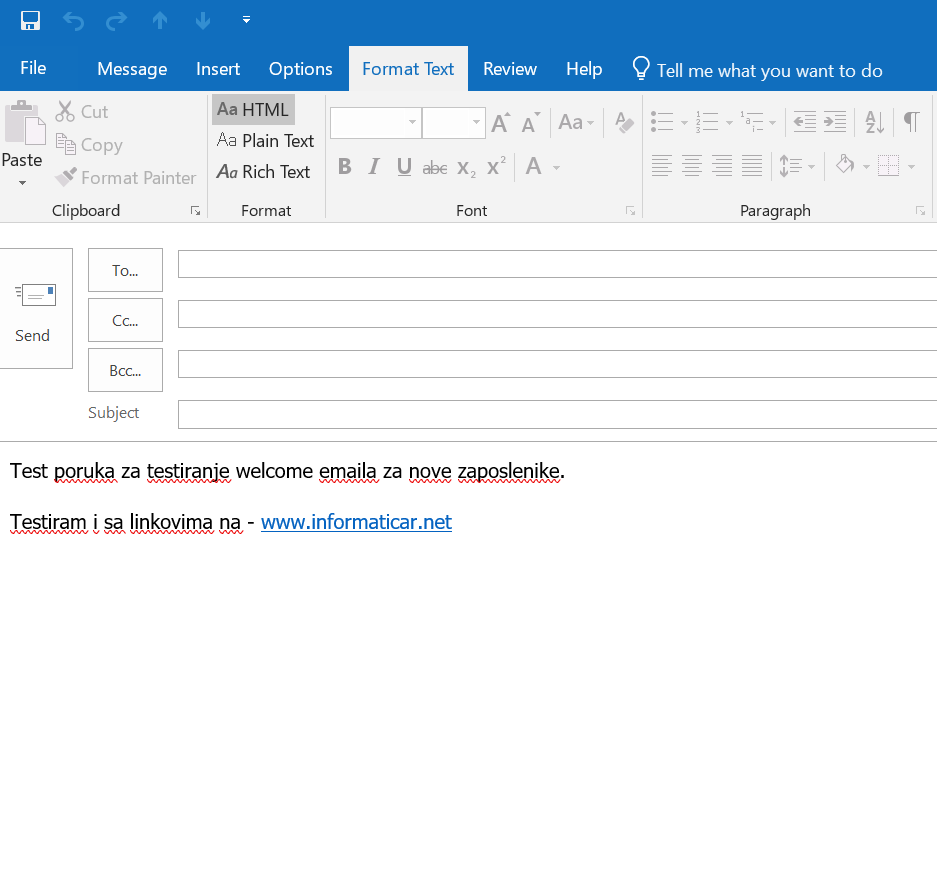
Simplest way is to open New Email in Outlook and write a new message.
Make sure that when message is formatted in HTML. In Outlook 2016 HTML formatting is under tab Format Text | HTML
From the screenshot you can also see the text of my welcome message
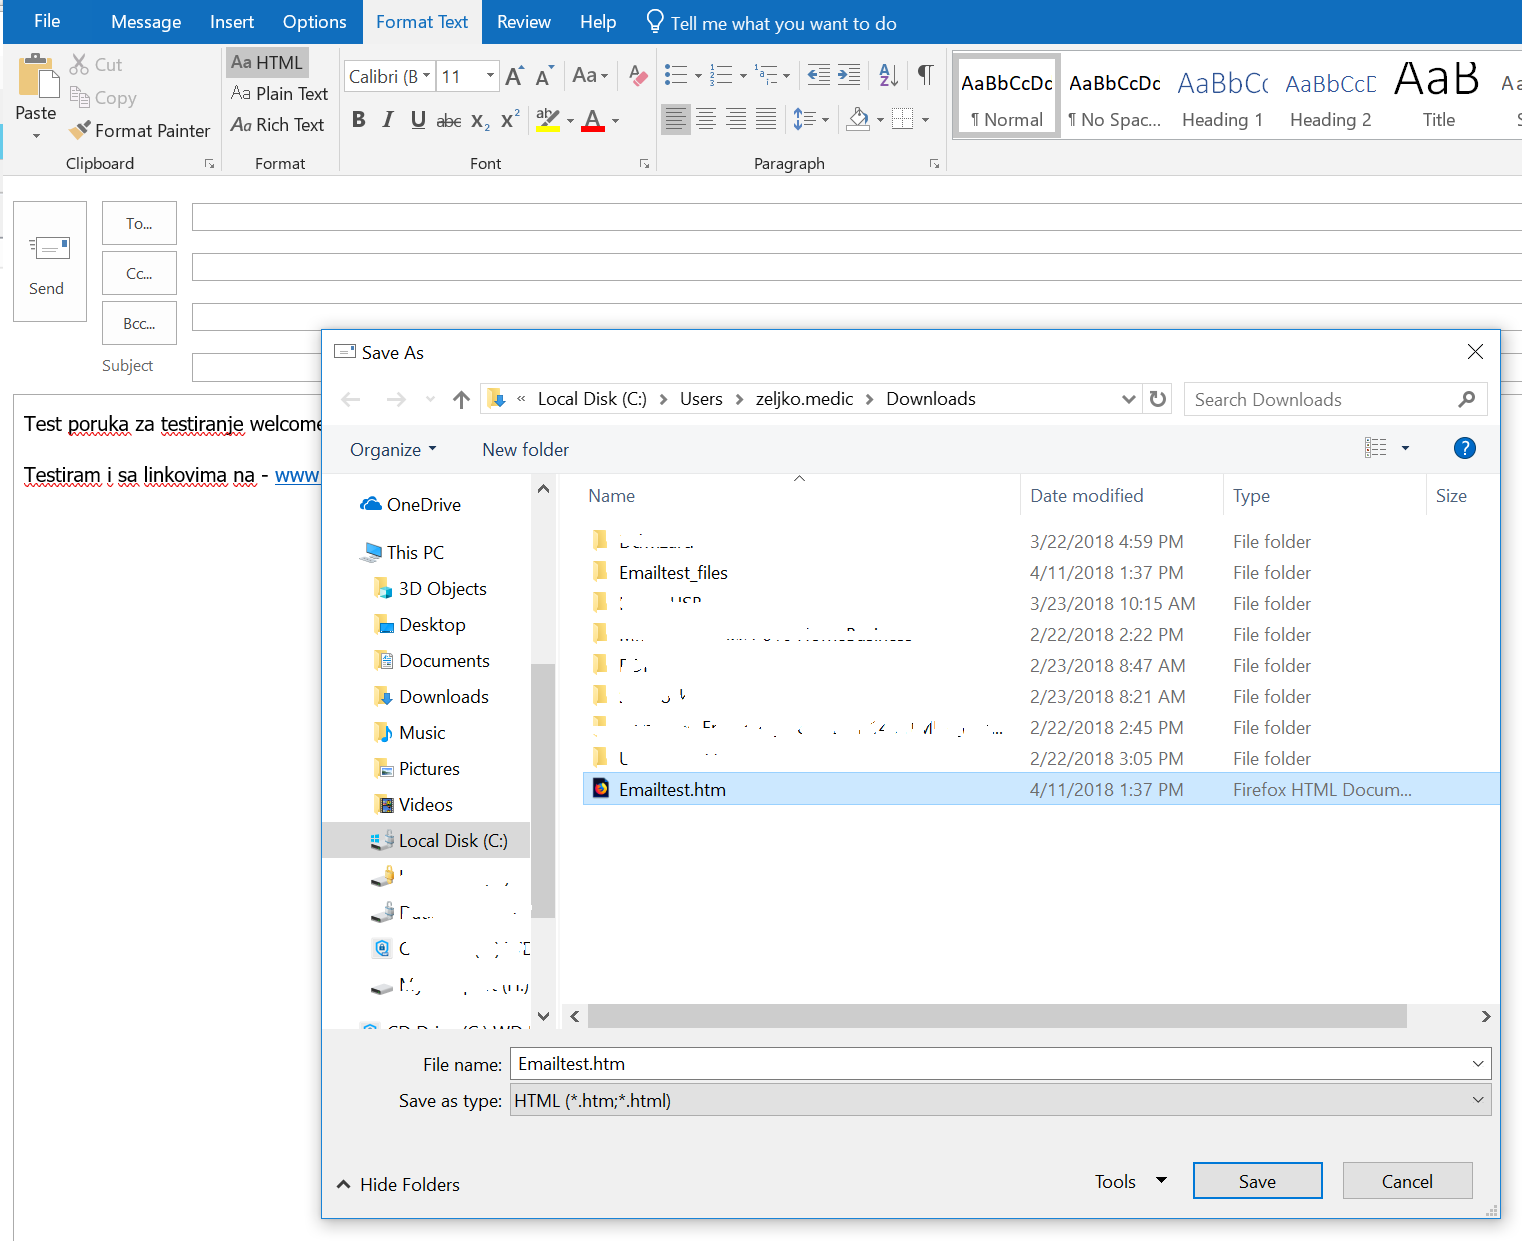
When you are finish with your email you need to save it as HTML. Go to File | Save As and choose folder and HTML type
I haven’t modified the script, so only text and links will be working in it, I haven’t added support for pictures, so have that in mind.
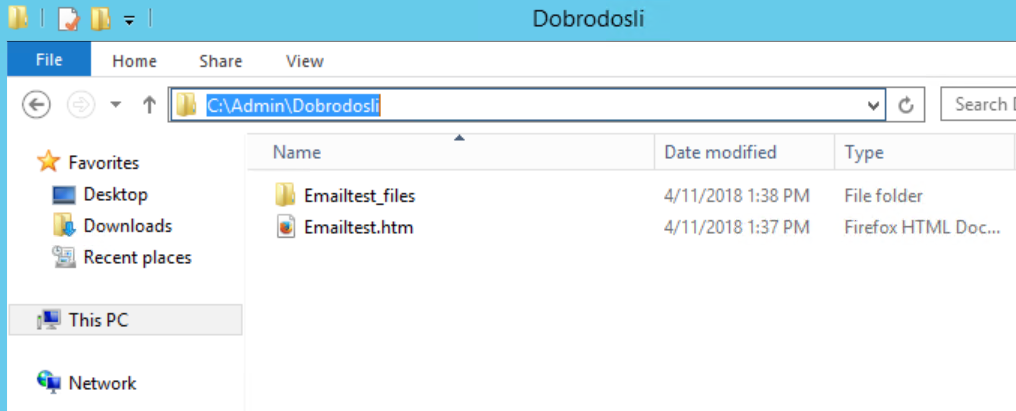
I will copy my HTML email to my Exchange server into C:\Admin\Dobrodosli\Emailtest.htm
Next steps are done on the Exchange server.
First, we need to enable “Scripting Agent”. This is done in Exchange Management Shell with following command
Enable-CmdletExtensionAgent "Scripting Agent"You can also check the status of “Scripting Agent” with following commands
Get-CmdletExtensionAgent | FT Name,Enabled -AutoSize
In my case, Scripting Agent is now Enabled
Now, onto XML script itself
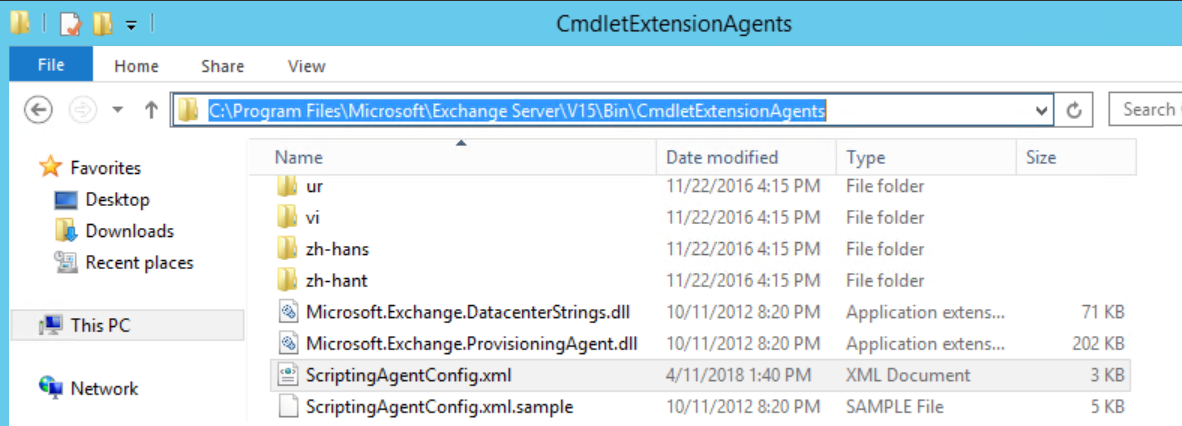
Script will need to be named as “ScriptingAgentConfig.xml” and the place where it needs to be saved in order to work is C:\Program Files\Microsoft\Exchange Server\V15\Bin\CmdletExtensionAgents
In the C:\Program Files\Microsoft\Exchange Server\V15\Bin\CmdletExtensionAgents there is a sample which we will be editing. Best approach would be to make a copy of Sample script and rename it to
“ScriptingAgentConfig.xml”
And best editor for this script would be Notepad++ and I will be using it in this case.
Right click on the ScriptingAgentConfig.xml and choose Edit with Notepad++ (or open with editor of your choice)
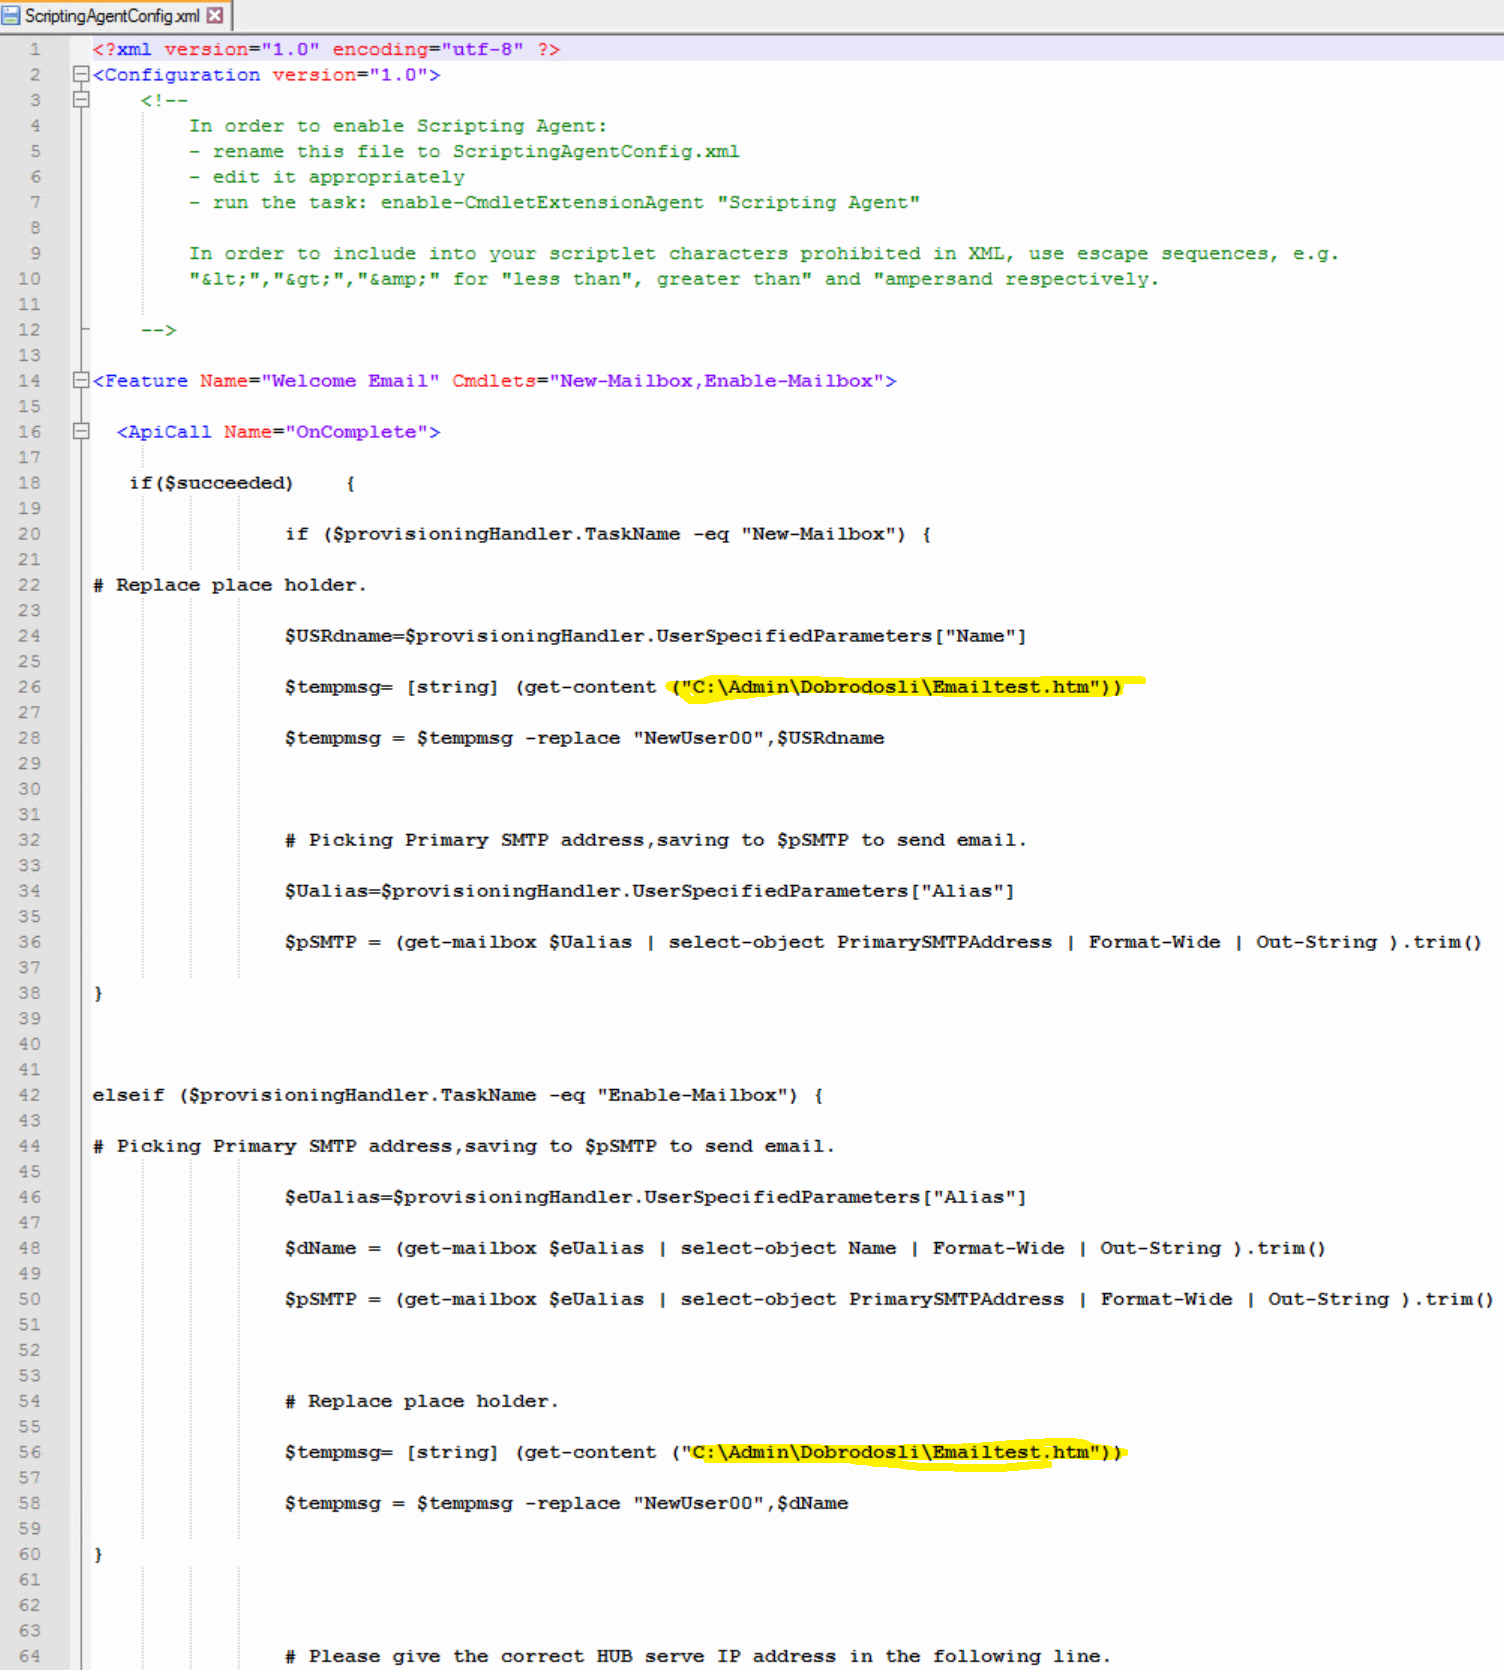
Now, this is how my final script looks like. I’m using it only for the Welcome Message.
Be careful when editing ScriptingAgentConfig.xml especially if you already have xml that is working something, not just XML sample.
Now, in the yellow lined parts you need to specify path to the HTML file that we created at the beginning of this tutorial, which holds your email message. HTML file should be in directory somewhere on your Exchange Server.
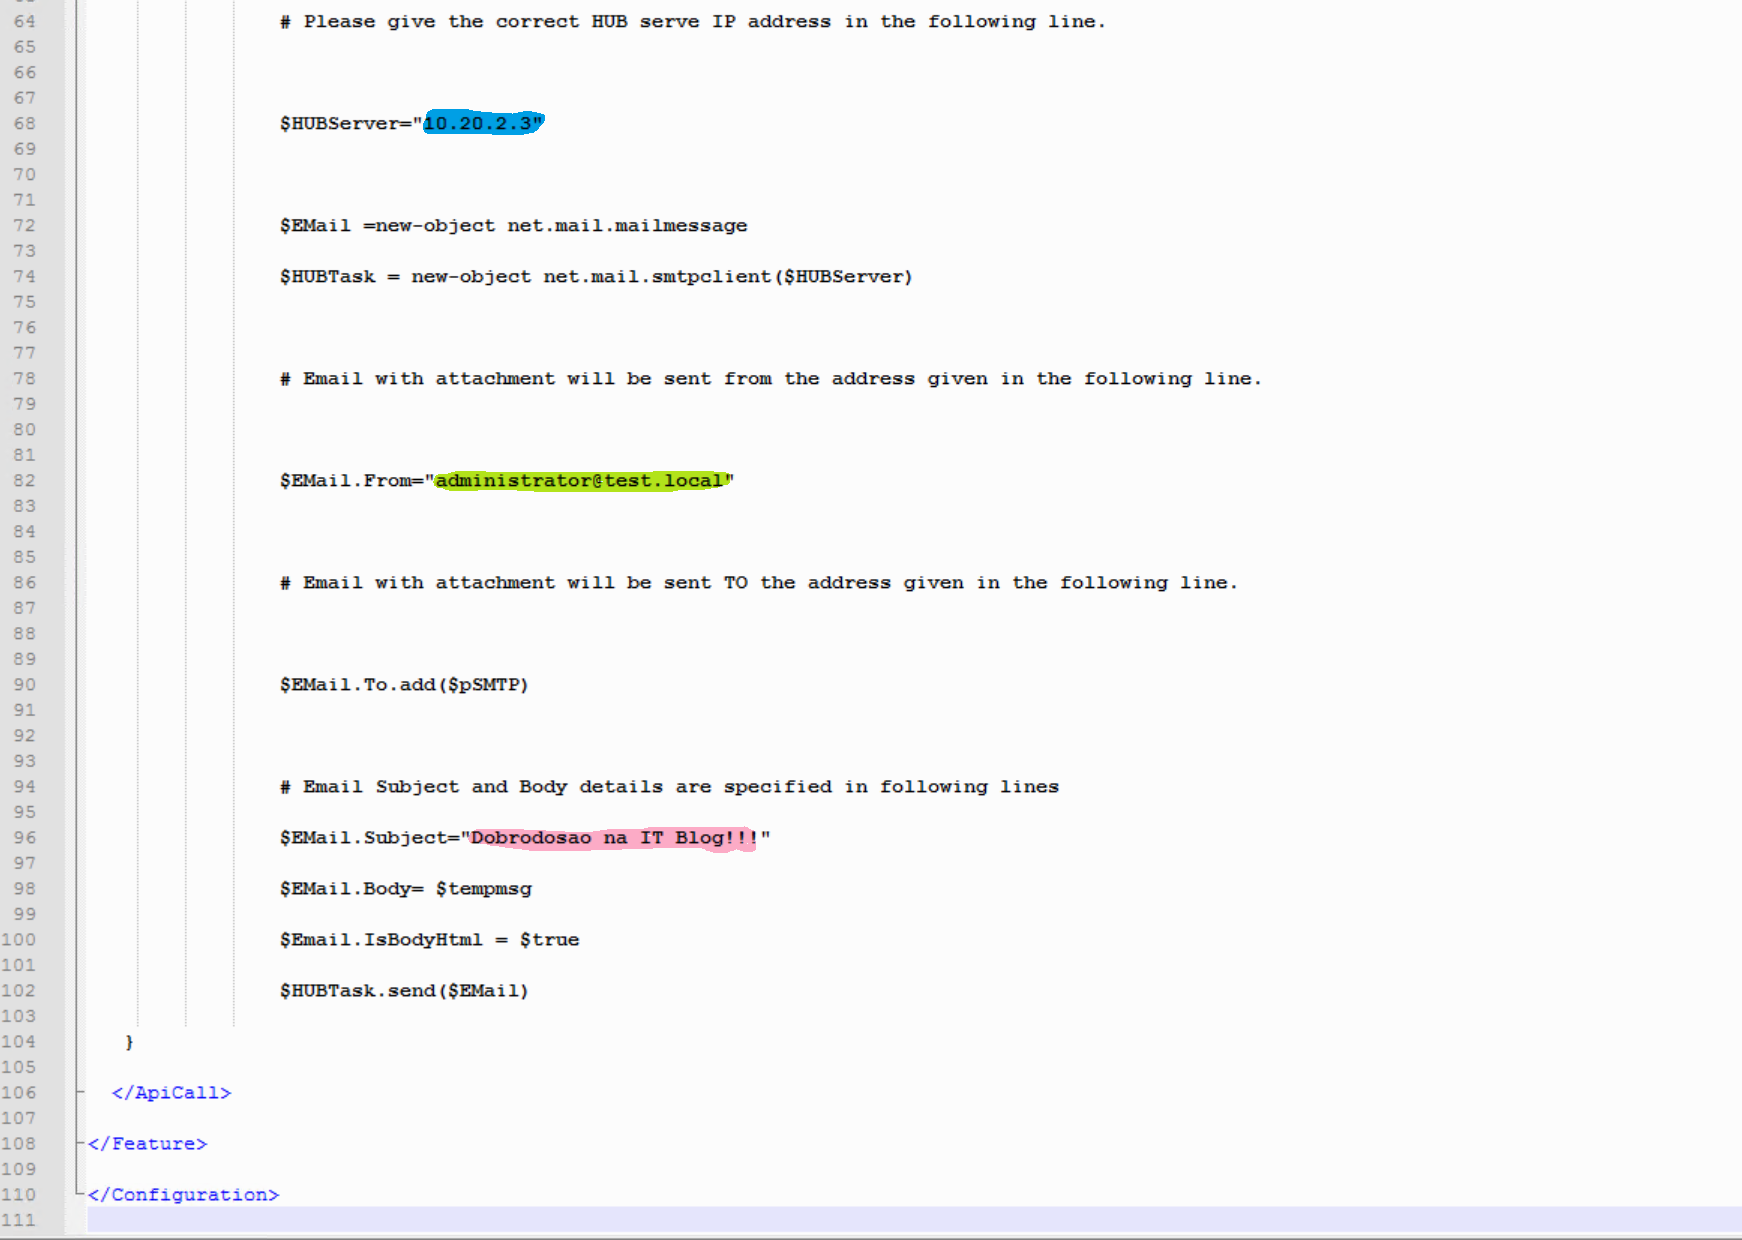
Here is the second part of the script.
Blue line – specify IP address of your Exchange Server
Green line – specify email address from which the email will be sent.
Pink line – Subject line for the email
Here is the body of the script in plain text. Make sure you have other general xml code lines in your xml file (look at the screenshot above)
# Script starts here

<Feature Name="Welcome Email" Cmdlets="New-Mailbox,Enable-Mailbox">

<ApiCall Name="OnComplete">

if($succeeded) {

if ($provisioningHandler.TaskName -eq "New-Mailbox") {

# Replace place holder.

$USRdname=$provisioningHandler.UserSpecifiedParameters["Name"]

$tempmsg= [string] (get-content ("c:\welcome\WelcomeMSG.htm"))

$tempmsg = $tempmsg -replace "NewUser00",$USRdname

# Picking Primary SMTP address,saving to $pSMTP to send email.

$Ualias=$provisioningHandler.UserSpecifiedParameters["Alias"]

$pSMTP = (get-mailbox $Ualias | select-object PrimarySMTPAddress | Format-Wide | Out-String ).trim()

}

elseif ($provisioningHandler.TaskName -eq "Enable-Mailbox") {

# Picking Primary SMTP address,saving to $pSMTP to send email.

$eUalias=$provisioningHandler.UserSpecifiedParameters["Alias"]

$dName = (get-mailbox $eUalias | select-object Name | Format-Wide | Out-String ).trim()

$pSMTP = (get-mailbox $eUalias | select-object PrimarySMTPAddress | Format-Wide | Out-String ).trim()

# Replace place holder.

$tempmsg= [string] (get-content ("c:\welcome\WelcomeMSG.htm"))

$tempmsg = $tempmsg -replace "NewUser00",$dName

}

# Please give the correct HUB serve IP address in the following line.

$HUBServer="20.1.1.2"

$EMail =new-object net.mail.mailmessage

$HUBTask = new-object net.mail.smtpclient($HUBServer)

# Email with attachment will be sent from the address given in the following line.

$EMail.From="[email protected]"

# Email with attachment will be sent TO the address given in the following line.

$EMail.To.add($pSMTP)

# Email Subject and Body details are specified in following lines

$EMail.Subject="Welcome to Contoso IT !!!"

$EMail.Body= $tempmsg

$Email.IsBodyHtml = $true

$HUBTask.send($EMail)

}

</ApiCall>

</Feature>

# Script ends here
Next part is testing. You can create new mailbox via powershell or Exchange Admin Center, result should be the same. Depending on the size of your HTML, creating new user may now take longer.
For a test I will create new user on AD and add him to the Exchange Server.
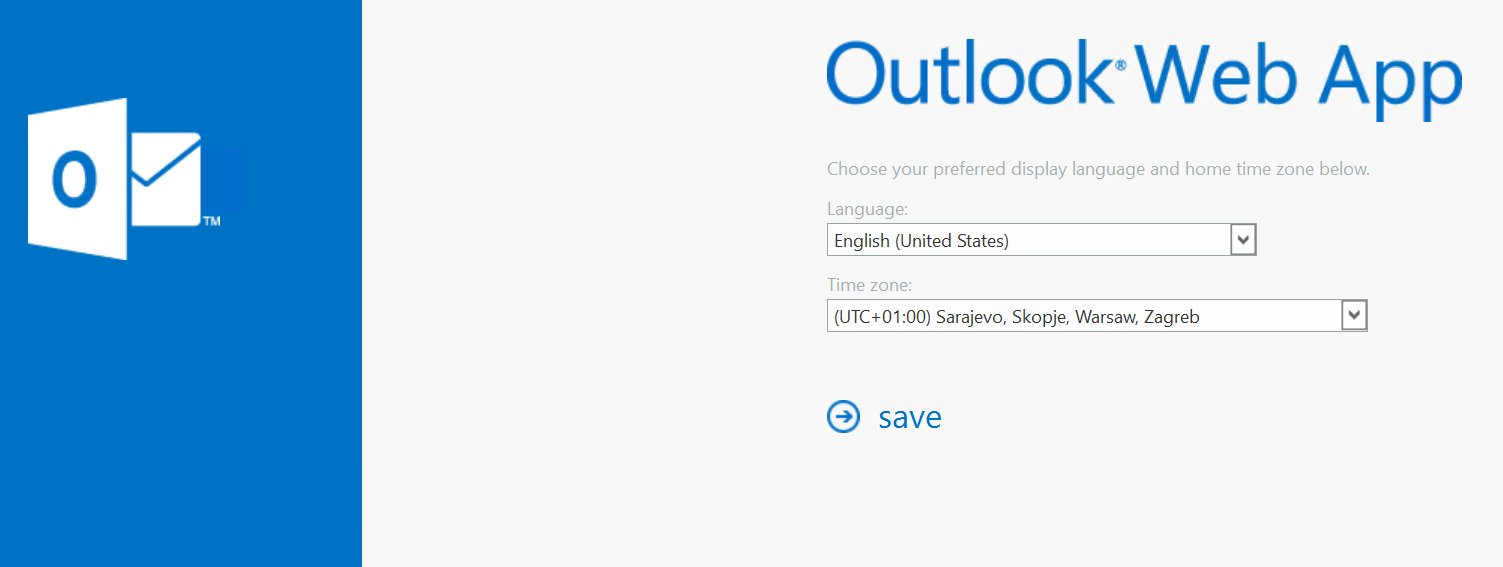
After creating new user I will open his email account for the first time in OWA.
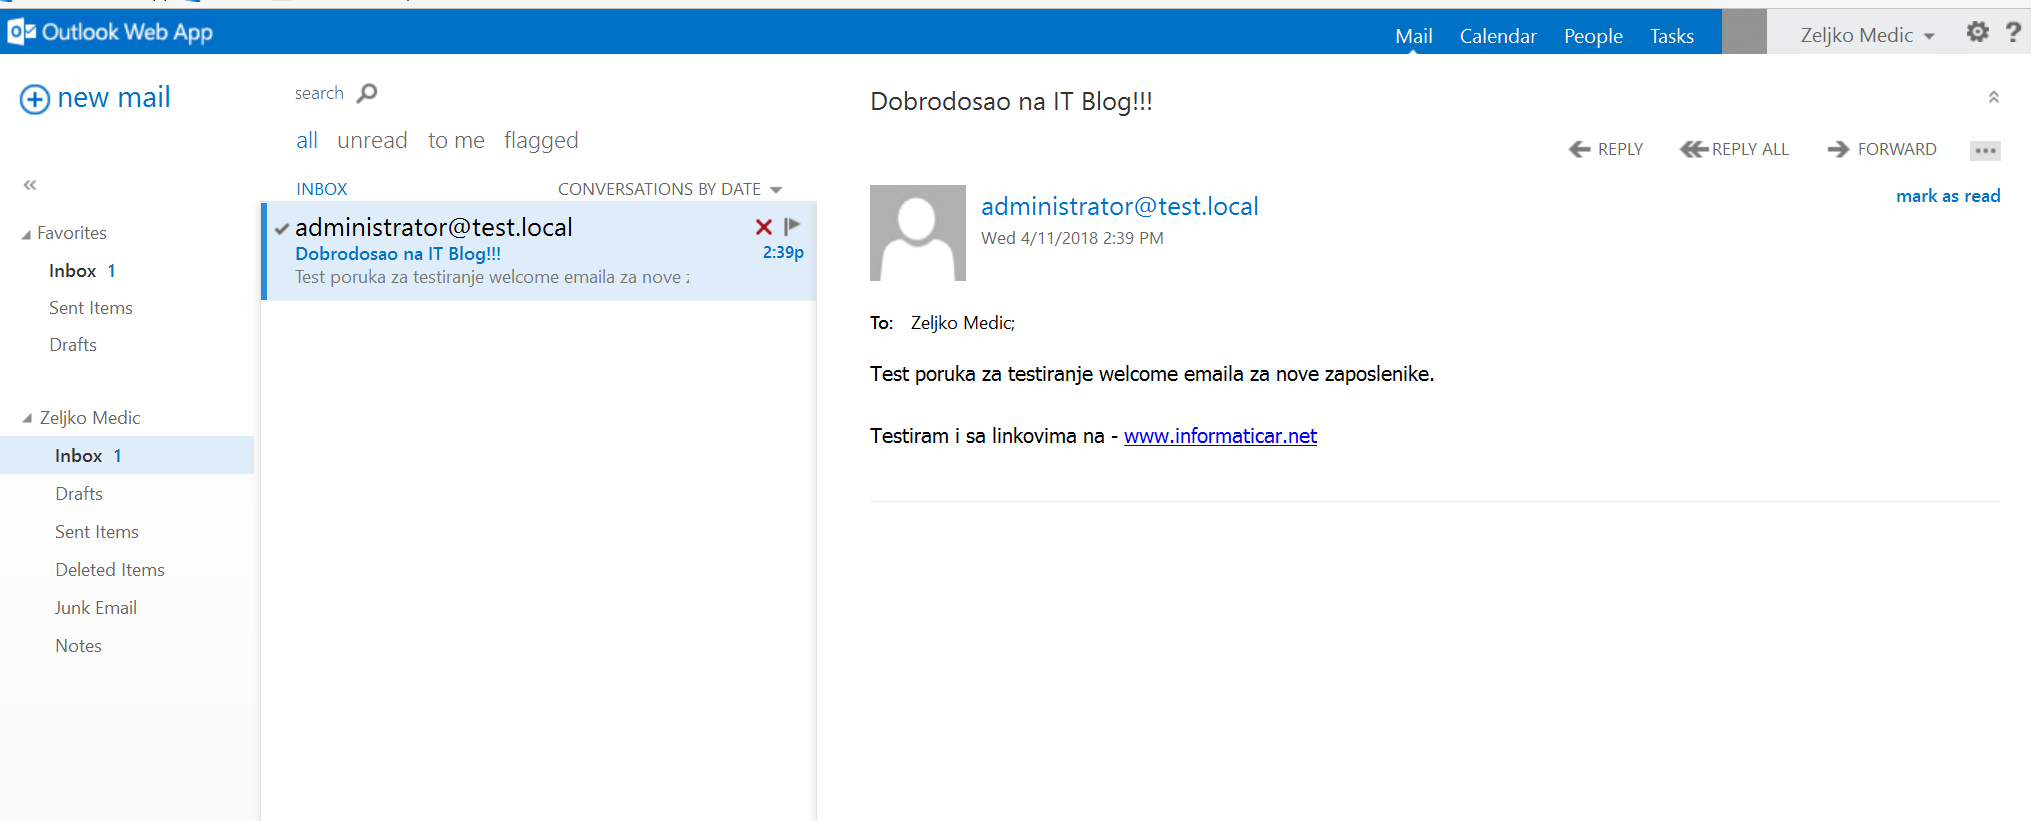
There it is, email is in the mailbox!!!
Script is working and is good for my needs.
